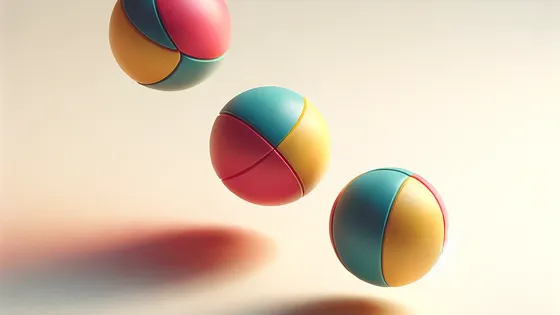
Creating a step-by-step guide to make leather juggling balls, we’ll start with explaining why leather is an ideal material for such balls. Leather is chosen for its durability, texture, and ability to be shaped into a smooth, spherical form, which is essential for juggling. Moreover, leather’s weight and tactile feel provide a good grip, making it easier for jugglers to control the balls. Now, let’s proceed with the step-by-step guide, incorporating the information from the provided webpage and other relevant sources.
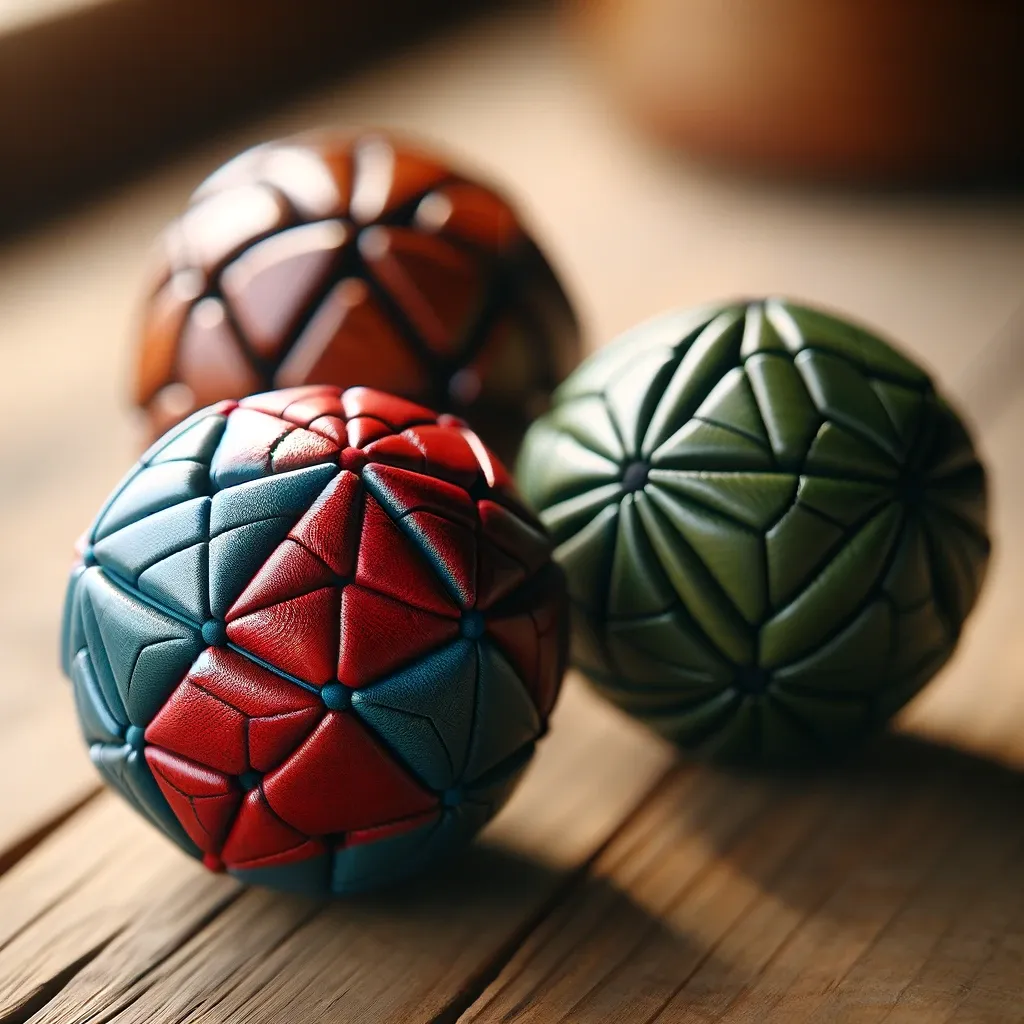
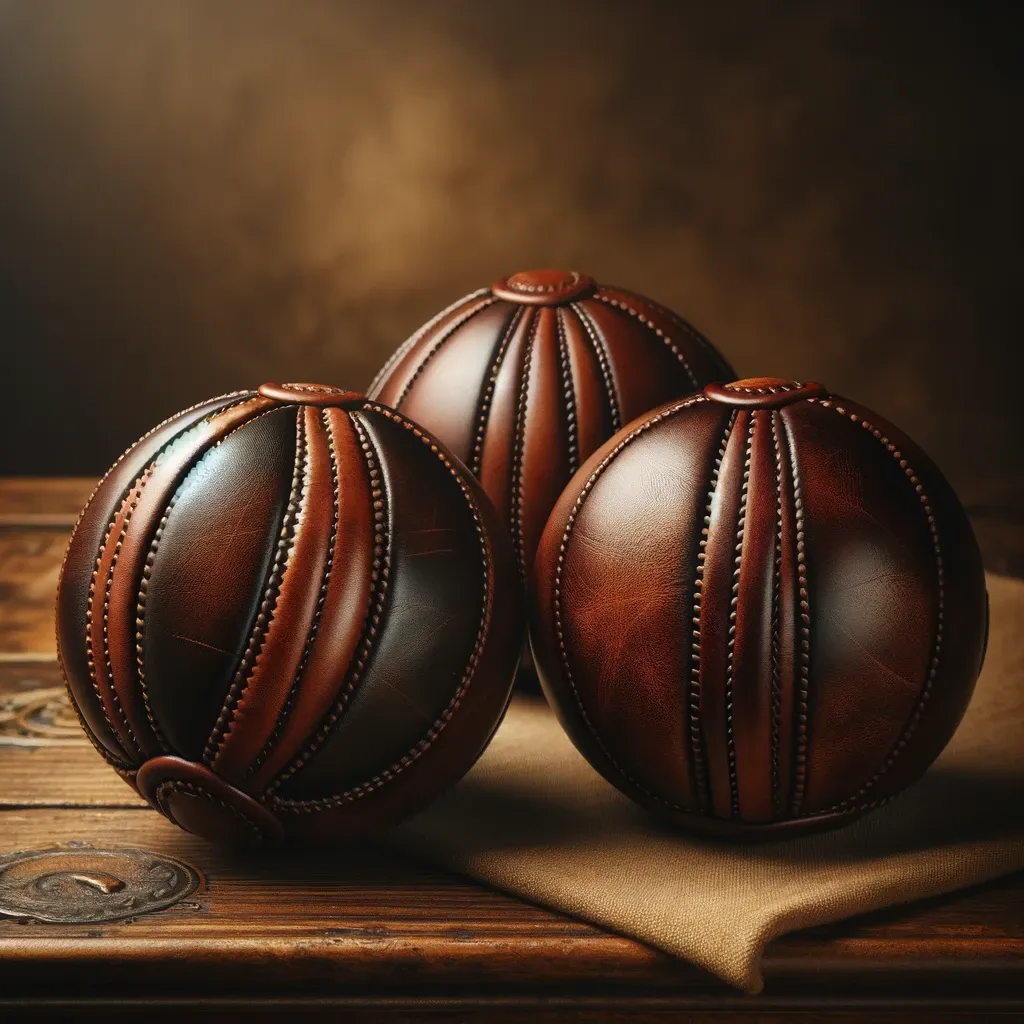
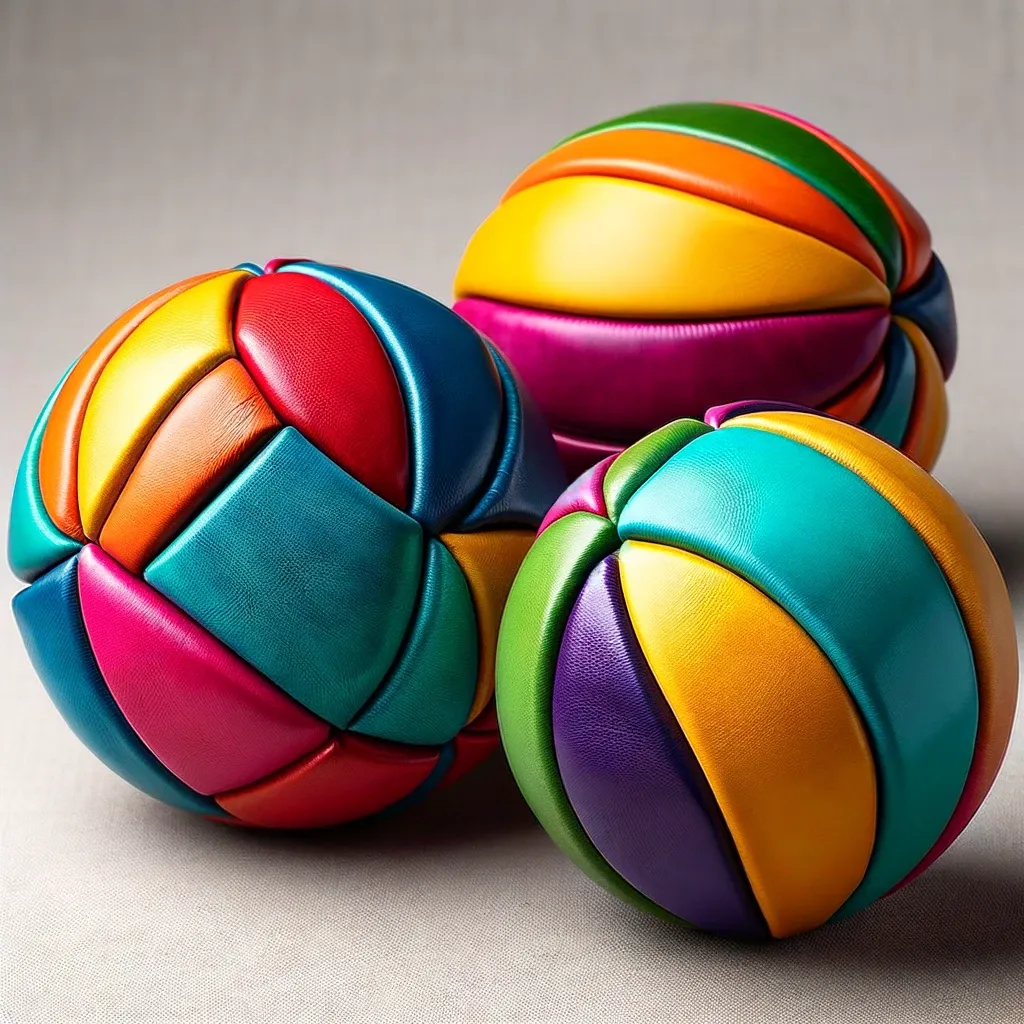
Step-by-Step Guide to Making Leather Juggling Balls
Selecting Leather: Choose leather that is 1-2 mm thick for uniformity in each ball’s face. Opt for bright colors or use old leather for a personal touch. Ensure all leather pieces have the same thickness and flexibility for consistency.
- Introduction to Leather: Begin by understanding the benefits of using leather for juggling balls. Its robustness, pleasant feel, and weight distribution make it an ideal choice for both beginners and professionals.
- Selecting Leather: Choose leather that is 1-2 mm thick for uniformity in each ball’s face. Opt for bright colors or use old leather for a personal touch. Ensure all leather pieces have the same thickness and flexibility for consistency.
- Choosing Color Schemes: Decide on the color scheme based on the ball’s pattern. For instance, two-piece balls require contrasting colors, while tetrahedral balls look best with four different colors. Consider the visual effect of the color arrangement for each type of ball.
- Cutting Patterns: Print out the pattern for the type of ball you want to make (e.g., two-piece, tetrahedral, cubic). Glue the pattern onto the leather, pierce holes with an awl, then cut out the leather along the pattern lines.
- Sewing the Pieces: Use waxed thread and two needles for sewing. Begin with the ball inside-out, sewing in lengths of one, two, or three seams, and tie off with a surgeon’s knot. Ensure even tightness and straight seams.
- Turning and Final Sewing: When a couple of faces are left, turn the ball right-side-out and continue sewing, leaving the last seam open for filling.
- Filling the Ball: Use a small funnel to fill the ball with your chosen material (e.g., birdseed, millet, sesame seeds, linseed, or crushed walnut shell). Ensure the filling is compact and the leather is stretched.
- Closing the Last Seam: Pull the thread ends to close the last seam. Remove the funnel and tie off the ends with a reef knot. Tuck the knots and ends inside the ball for a neat finish.
- Practice and Perfection: Your first few attempts might take longer, but with practice, the process will become more efficient.
This guide should help you craft high-quality leather juggling balls that are both visually appealing and functionally superior, ideal for both practice and performance.